Product scene photos
AI product photography, from product to scene.
Bring a clean product image, a setting and a lighting direction into one workspace. Build the brief for an advertising or lifestyle scene without losing track of the product you want to preserve.
Open this workflowAI generation, saving and collaboration are available. Choose Seedream, Nano Banana or GPT Image in Generate. Krea’s official model is not connected.
References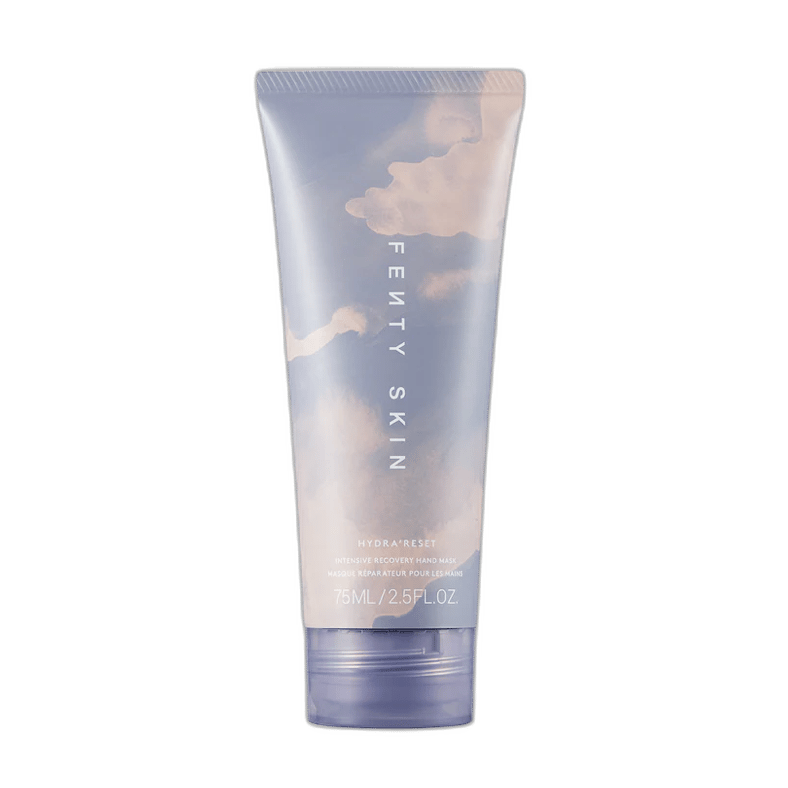
Person · Background
Product · Style
Person · Background
Product image + scene directionWorkspace illustration · not a generated result
What to bring
Give each reference one job.
An environment reference with the right horizon and camera angle.
One lighting or color reference, separate from the product identity.
A ready-to-edit starting point
Your workflow brief.
This brief opens with the reference board. Adjust it for your actual images and intended output.
Product scene brief: preserve the product silhouette, label and proportions. Use the scene reference for setting and the style reference for light. Keep the product readable, with space for campaign copy.
Use this brief in the editor ↗Start with a product image you can trust
A clear product photograph is a better starting point than a heavily compressed marketplace thumbnail. Check the outline, cap, seams, label and transparent edges before preparing a new scene. If there are multiple angles, identify which view should define the final composition.
- Use a front view to protect label layout and packaging details.
- Add a three-quarter view when depth and side surfaces matter.
- Keep the original image in the reference board while arranging the canvas.
Give the scene its own reference
A scene reference describes the environment; it should not silently replace the product reference. Separate surface, light and background decisions. A stone plinth, bathroom shelf and outdoor picnic table produce different framing requirements even when the product stays the same.
- Record the camera height and direction of the light.
- Leave a deliberate area for a headline or price overlay.
- Test a composition at the intended social or listing aspect ratio.
Review product identity before choosing a variation
Generate a product scene with Seedream 5 Pro or Nano Banana using the product and setting references. Review the package outline, label and material against the source before using the image. Save the generated original or add it to the canvas with text and props. The model may alter small details; exact identity is not guaranteed.
- Keep an unedited source photograph for side-by-side review.
- Check small details at full size, not only in a thumbnail.
- Keep the generated original and a manual campaign layout as separate assets.
Workflow questions
Product scene photos questions
Can this preview generate a lifestyle scene automatically?
Yes. Add your product and optional scene references, open Generate and describe the setting. Choose Seedream 5 Pro for multi-reference scenes or Nano Banana for general editing. Results are saved to the project and can be added to the canvas; shared preview limits apply.
Does a white background need to be removed first?
A transparent product PNG is convenient for manual placement. This preview does not automatically remove a white background.
Which format should I export?
Use PNG when you need transparency. Use JPG for a flattened composition with a solid background. A 2K workspace starts at 2048 × 2048 pixels.
One shared workspace
Turn a reference into a clear direction.
Bring your images, arrange the canvas and share the next step.
Open the editor preview Generate with Seedream 5 Pro or Nano Banana, then edit and export. Shared preview allowance applies.